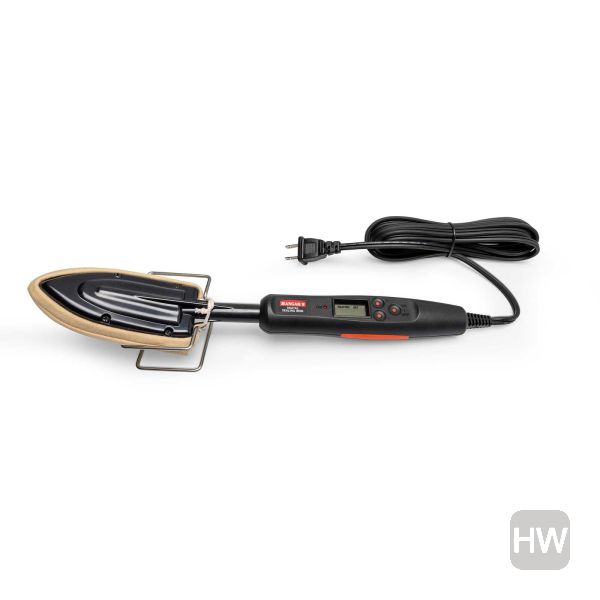
Digital Sealing Iron. Precise digital temperature control. LCD power indicator. Adjustable temperature units. Perfect for any heat shrink film or fabric covering. Updated shoe design for easier covering
Use of the sock is optional, though recommended. The sock will help prevent marking and potential creasing of the underlying airplane structure.
After installing the sock, place the iron on the included stand, then place it on a heat resistant surface. Connect the iron to an appropriate AC wall outlet. Press the ON/OFF button to power the iron on. Adjust the temperature to the desired level with the temperature adjustment buttons.
Holding both the ON/OFF and C/F button for approximately three seconds will change the temperature display mode between Celsius and Fahrenheit.
Set the iron to the temperature recommended for the covering material being used. Once the iron reaches the set temperature, it’s ready for use. You may find it helpful to test a scrap piece of covering to ensure the temperature setting is appropriate for the task being performed. Often tacking the shrinking are performed at different temperatures.
Features
Precise digital temperature control
LCD power indicator
Adjustable temperature units
Perfect for any heat shrink film or fabric covering
Note: This is not a comprehensive list of all compatible products and even though we try our best to keep this list accurate, compatibility is not guaranteed. Please consult the manual for your vehicle, the manufacturer of the product, or contact us here at Hobby Wholesale to confirm compatibility if you are unsure.